Version 1.1.4 is out with the following changes:
- Version 1.1.4
- Released on 27 feb 2018.
- Known issues with deprecated, removed and changed PHP calls from PHP v5.4 through v7.1 : fixed
- Some other bugs fixed.
- Added a checkbox 'Display errors on', which shows possible PHP warnings. Use it on your local machine and on your live site and then please report any warnings and errors you see (Deprecated: , Warning:, Notice:, Fatal error:), to me, with screen-shots. Then switch it of again.
- Added YEAR-only option to archives. When selected, archive-links are shown as 1 link per year, and when 'Show archive count' is checked, with the number of posts per year.
- Removed 'Show author' checkbox - you can swicth it on or off in the 'Alternate ordering'-settings.
- Added the option to leave out blogpost-sections inside 'Alternate ordering'. If you don't want a certain section in your blogposts, check 'Alternate ordering' and choose the 'blank' option for that section.
- Added the RSS feed link as a stack. Instead of being always on top of the blog, you can now place it anywhere you prefer, or use this code snippet: <?php renderRSSlink(); ?>
- Included FontAwesome via Stacks API.
- Cosmetic changes.
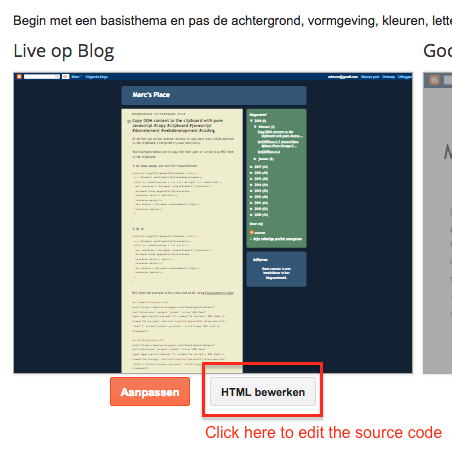
If not, you can read more about it here .